Aug 8, 2026
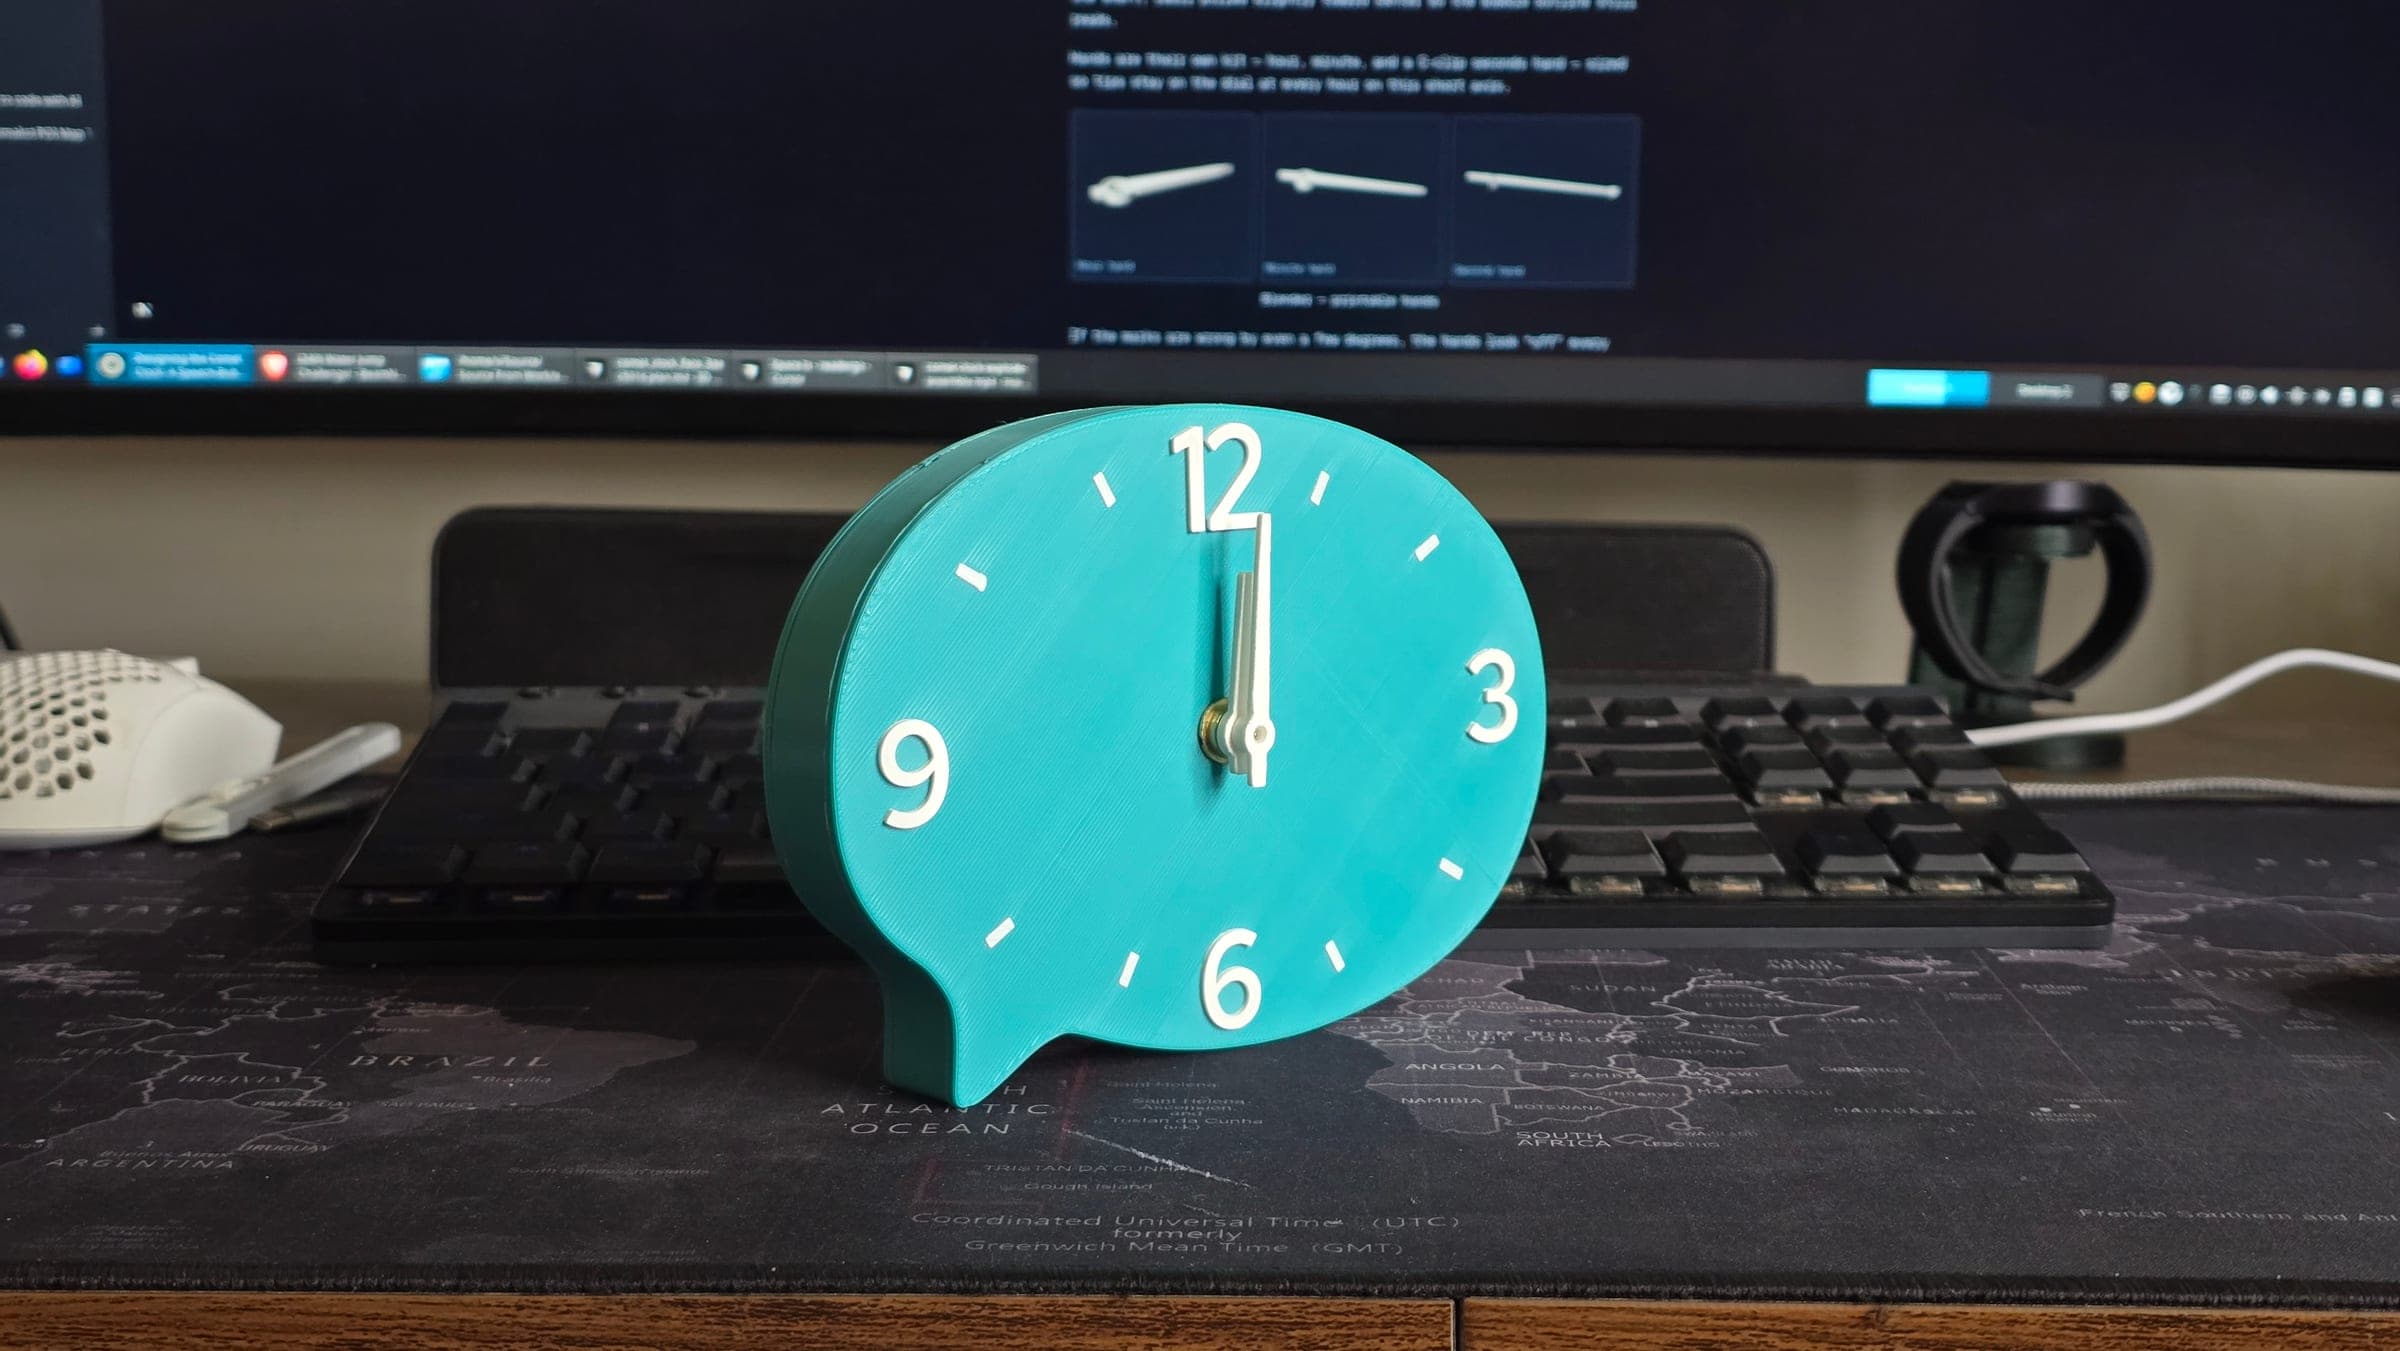
Designing the Bubble Clock: A Speech-Bubble Desk Clock
We needed a clock.
My wife suggested the normal-person option: just buy a wall clock and be done. Sensible. We are designers, though — so we designed one and printed it.
Not a wall clock either. A desk clock we could move around: shelf, workbench, kitchen table, whatever the day needed. She had a shape in mind. We sketched, cut paper, measured a cheap quartz movement with calipers, and iterated until the outline felt right.
Rule for the build: if it doesn't print on an A1 Mini and assemble without glue, it isn't finished. The model itself never went into CAD — the whole thing was built in Blender, driven through the Blender MCP.
The sketch set the clock
Most clock projects start as a circle. This one started as her silhouette — a comment bubble with a little pointed stand.
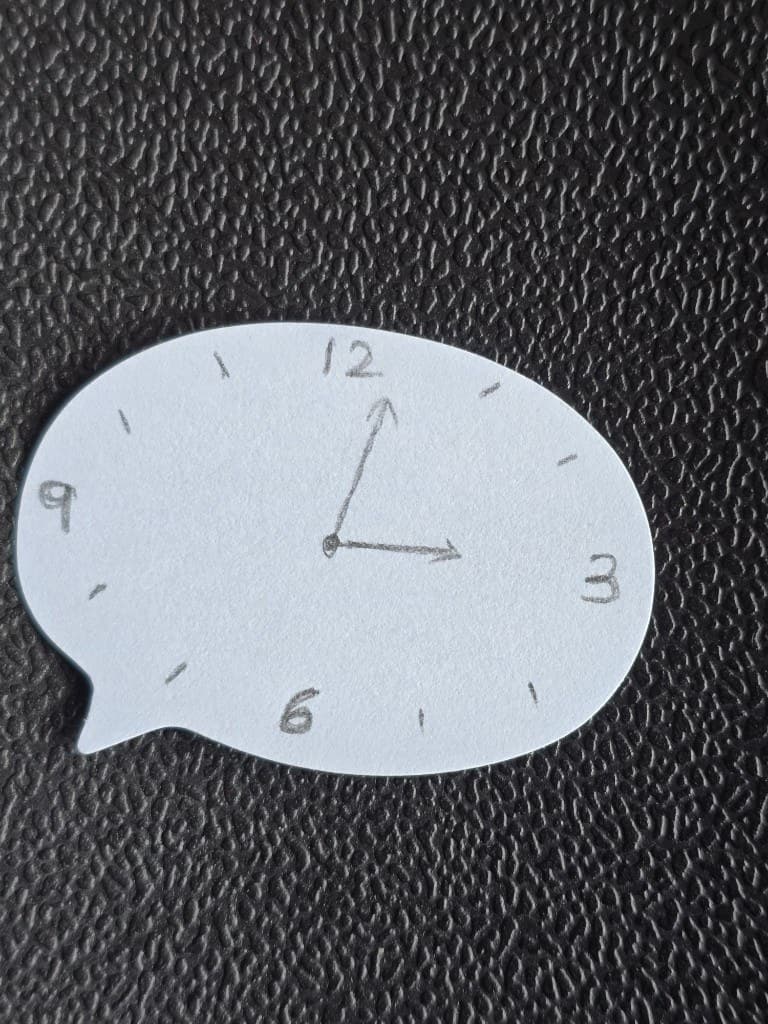
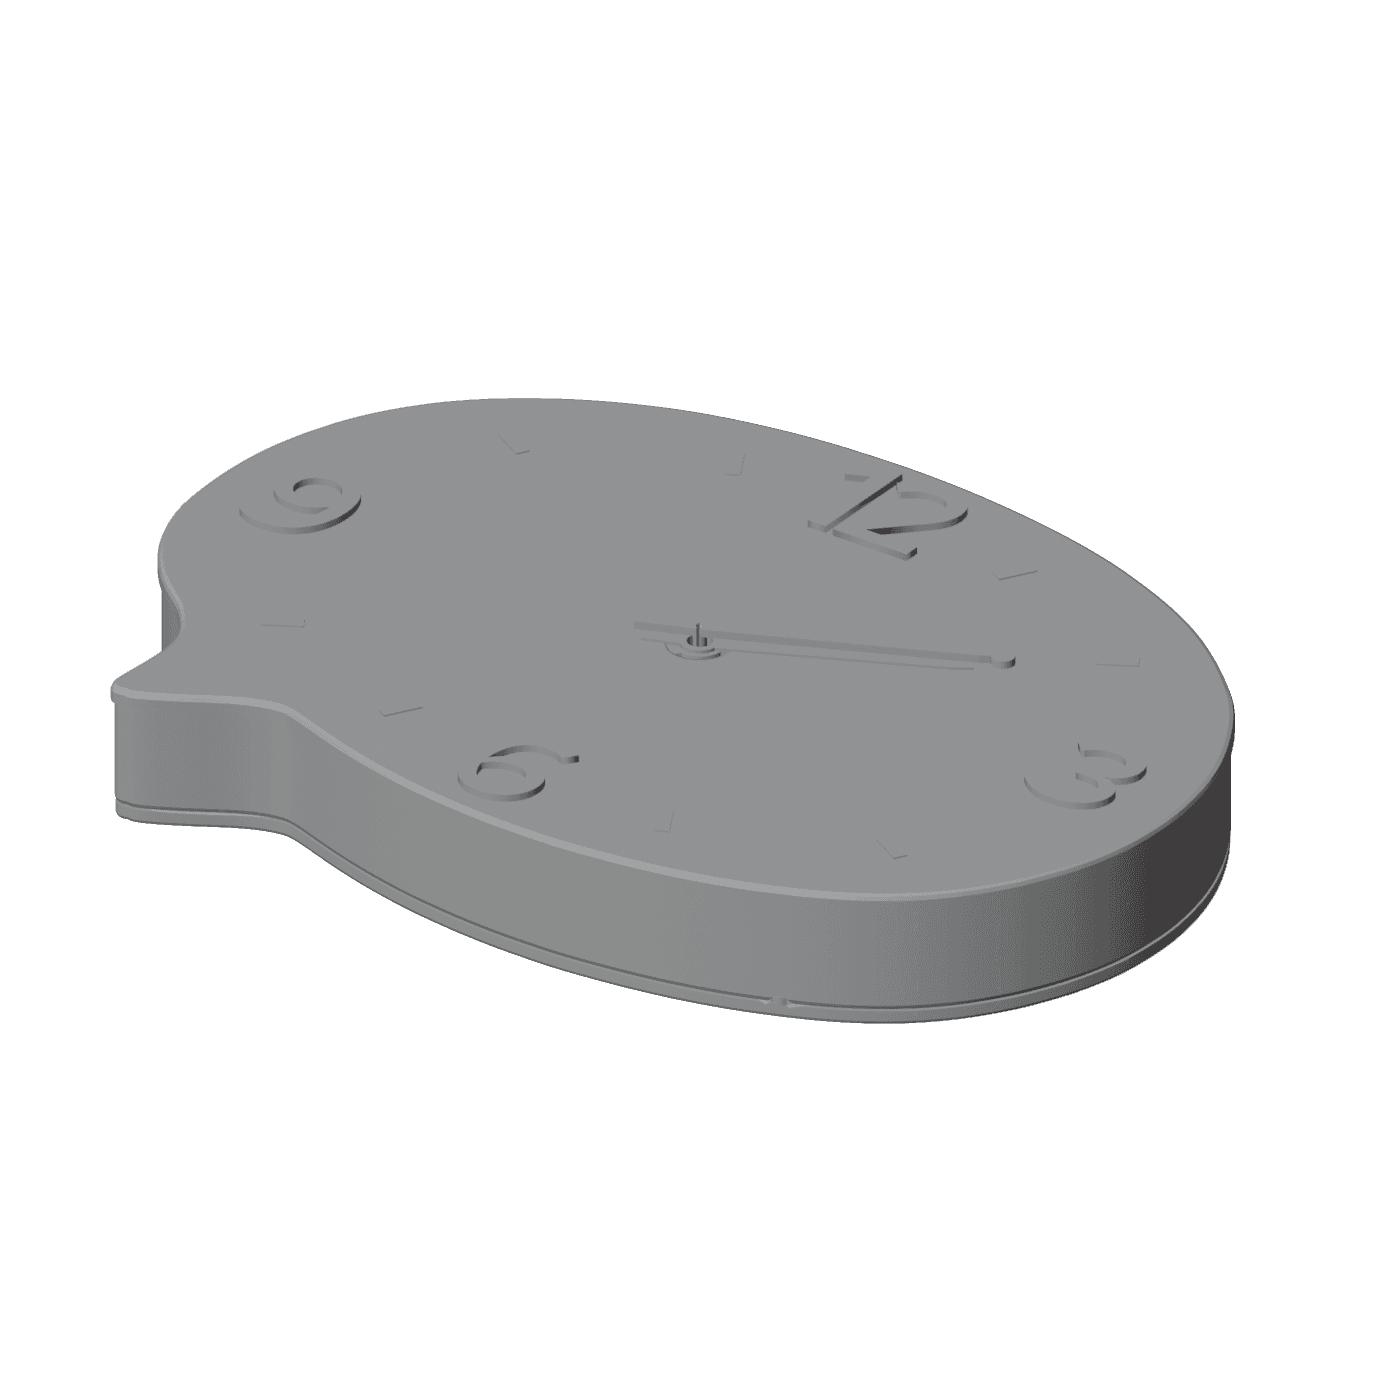
That outline became silhouette_pts_mm.csv — a real closed path scaled to ~160 mm wide. Everything else hangs off two decisions that came from the hardware, not the sketch:
- Origin = shaft axis (nest and dial center are the same point)
- Face marks sit on equal clock angles (30° rays from that shaft — the same rays the hands sweep)
Once those locked in, the rest of the model had something to obey.
A sandwich, not a one-piece shell
The case is three printed parts around a Little Birdie quartz body:
- Back — plate + through nest + pins up
- Ring — open frame the body sits inside (depth from measured body height)
- Front — dish dial, bezel groove, lip over the ring, blind sockets under the face
Alignment is hybrid on purpose (FDM hates long pins hanging “down” off the print bed):
- Top: ring pins → front underside sockets (face stays clean)
- Bottom: back pins → ring underside sockets


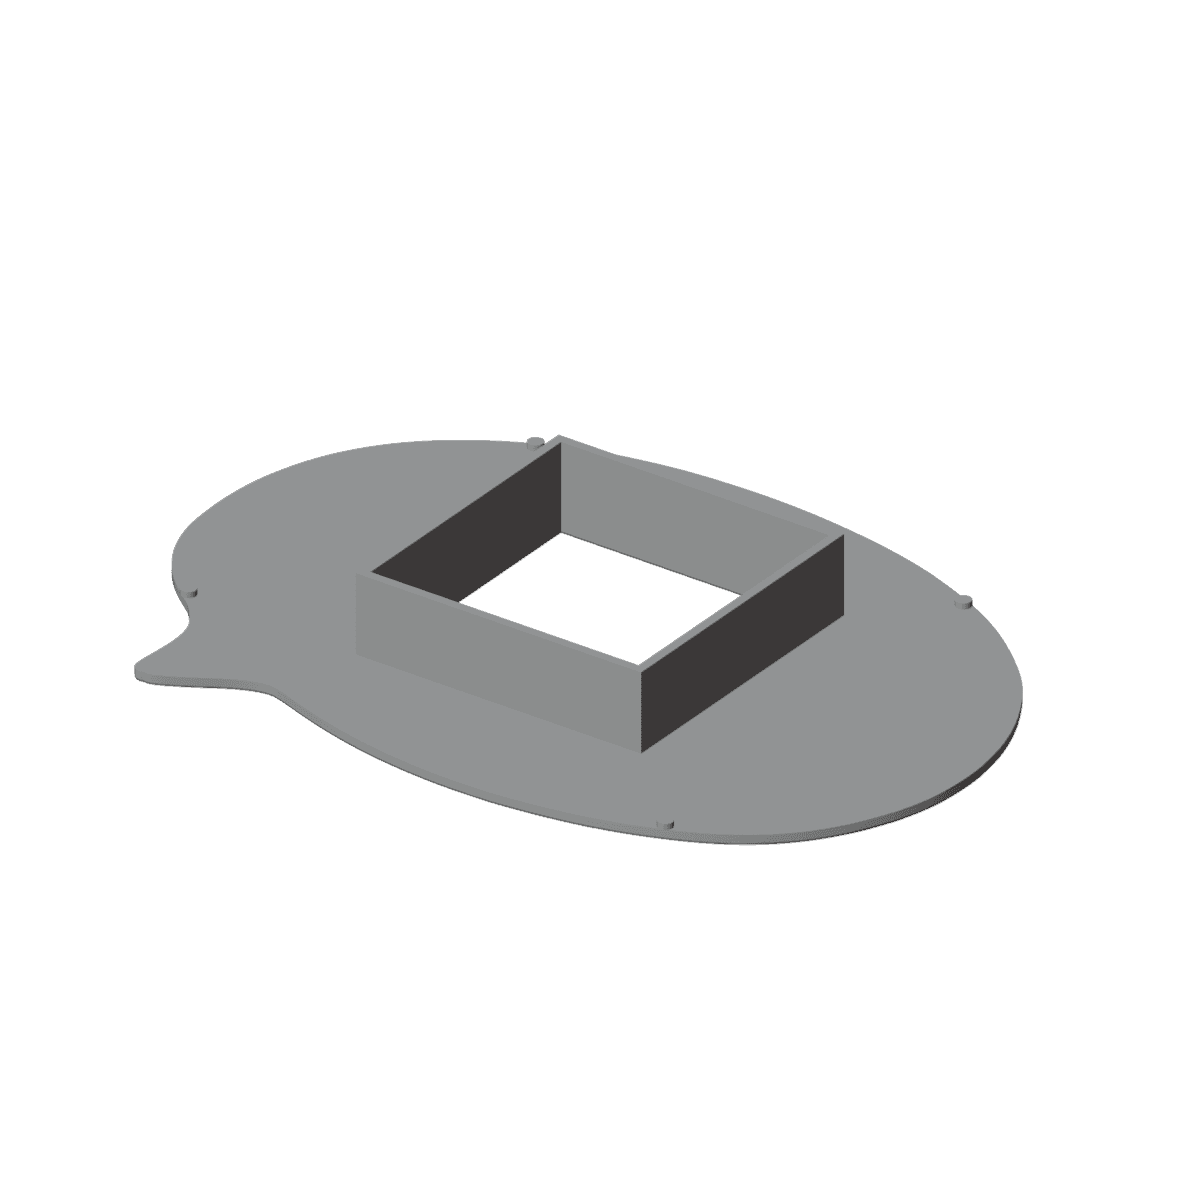
Nest walls rise from the back seating face to the underside of the front — full ring depth — so the movement is guided the whole way, not perched on a shallow collar.
You can orbit the assembled kit yourself (same meshes as the print files):
Dial, hands, and angles that have to agree
The face is a shallow dish with a thin bezel groove and raised 12 / 3 / 6 / 9 plus hour ticks. Numerals and ticks share one track: equal angles from the shaft, radii pulled slightly toward center so the bubble outline still reads.
Hands are their own kit — hour, minute, and a C-clip seconds hand — sized so tips stay on the dial at every hour on this short axis.
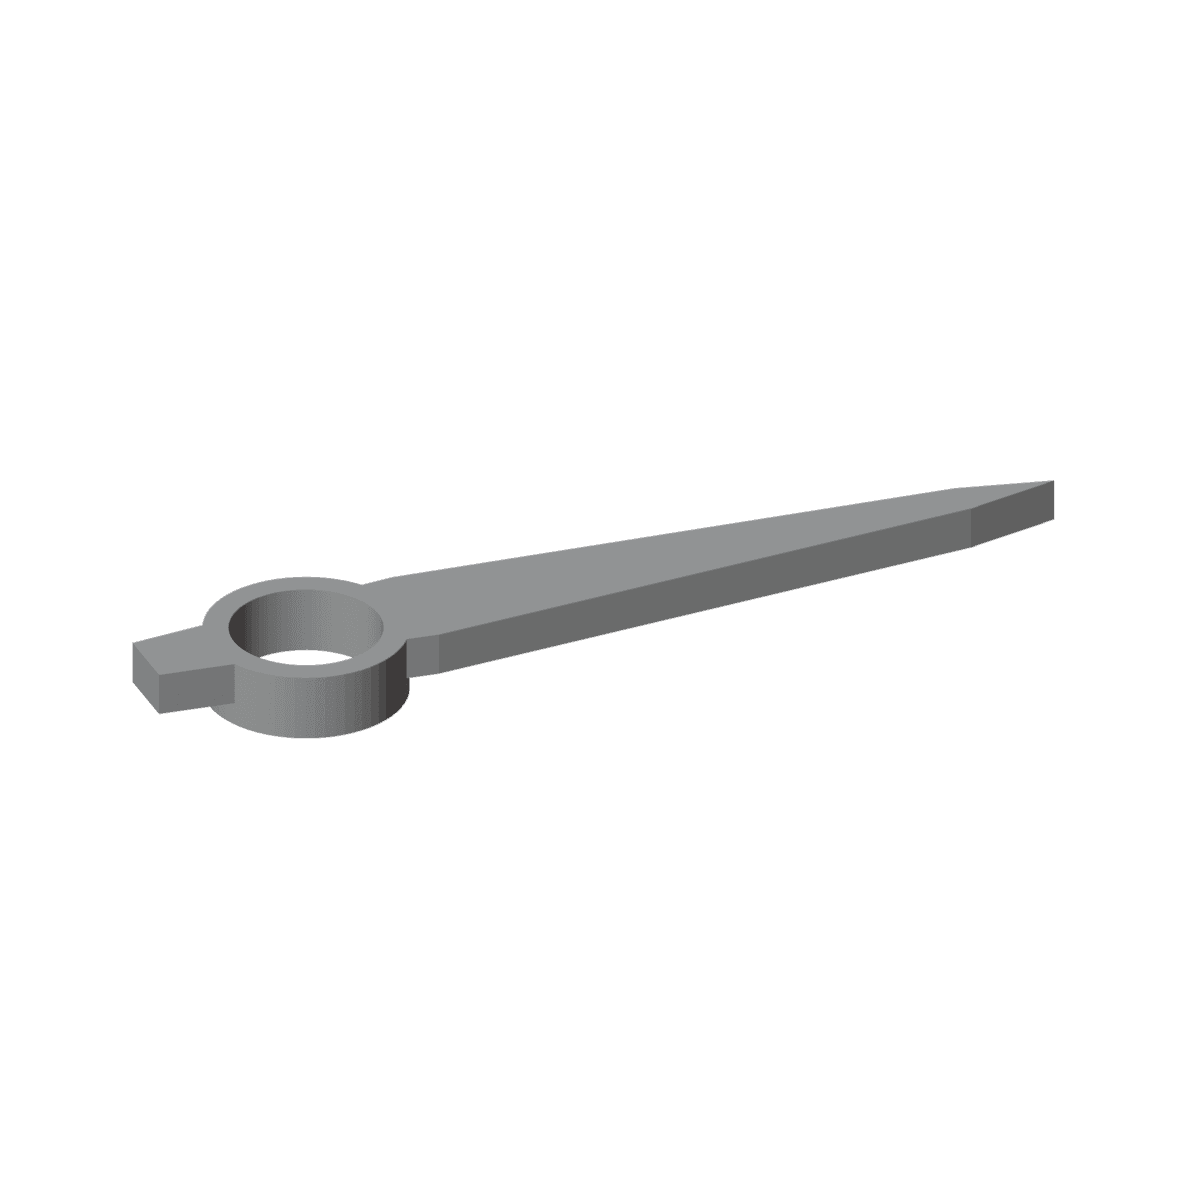
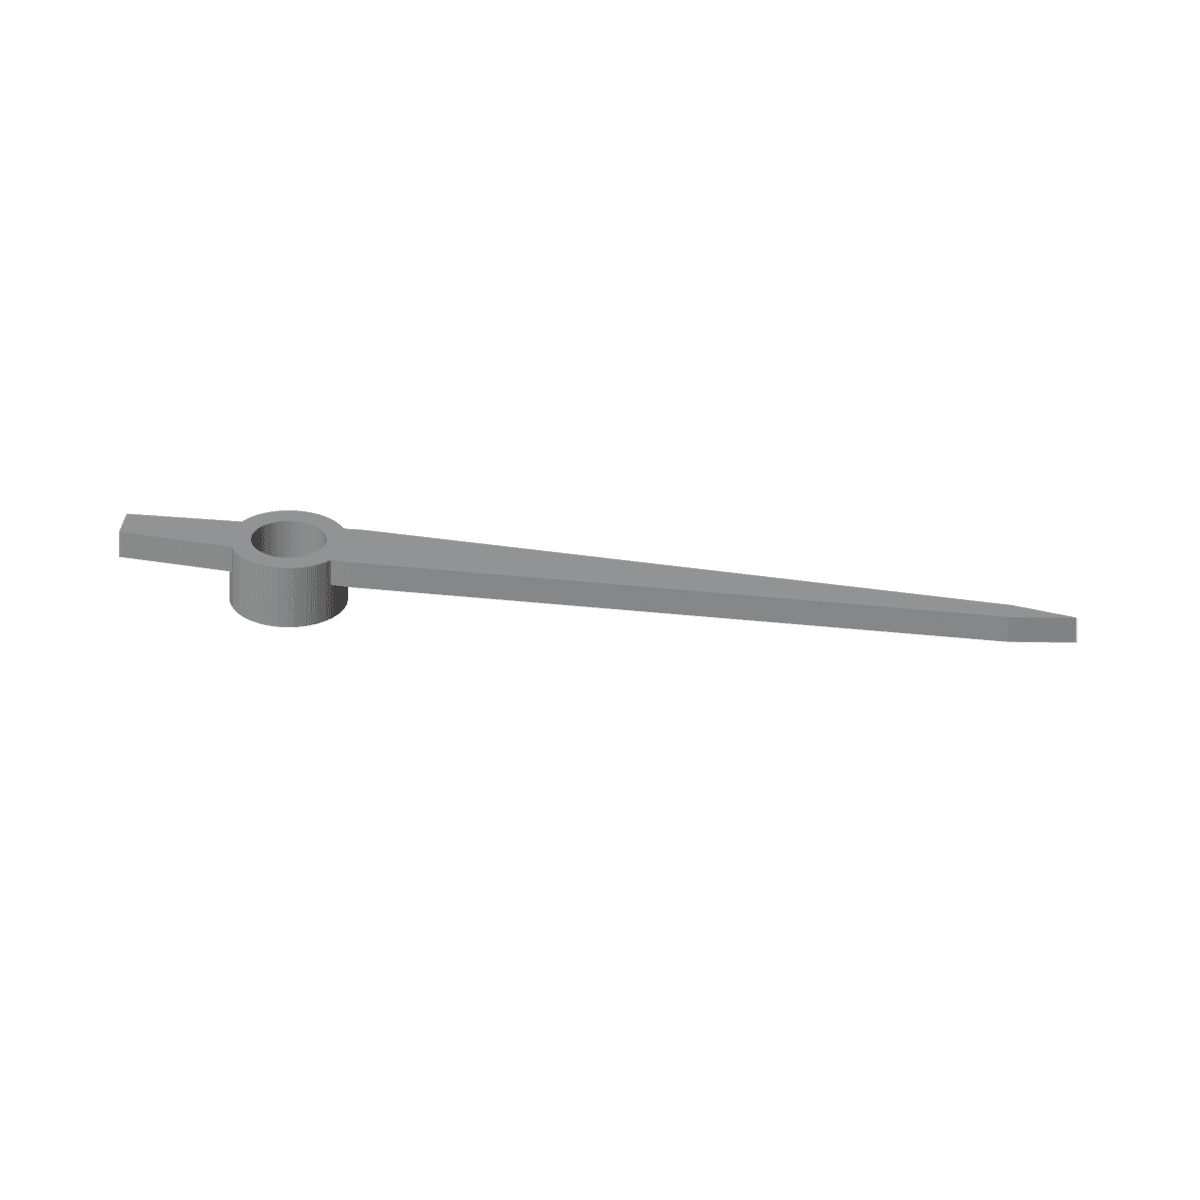
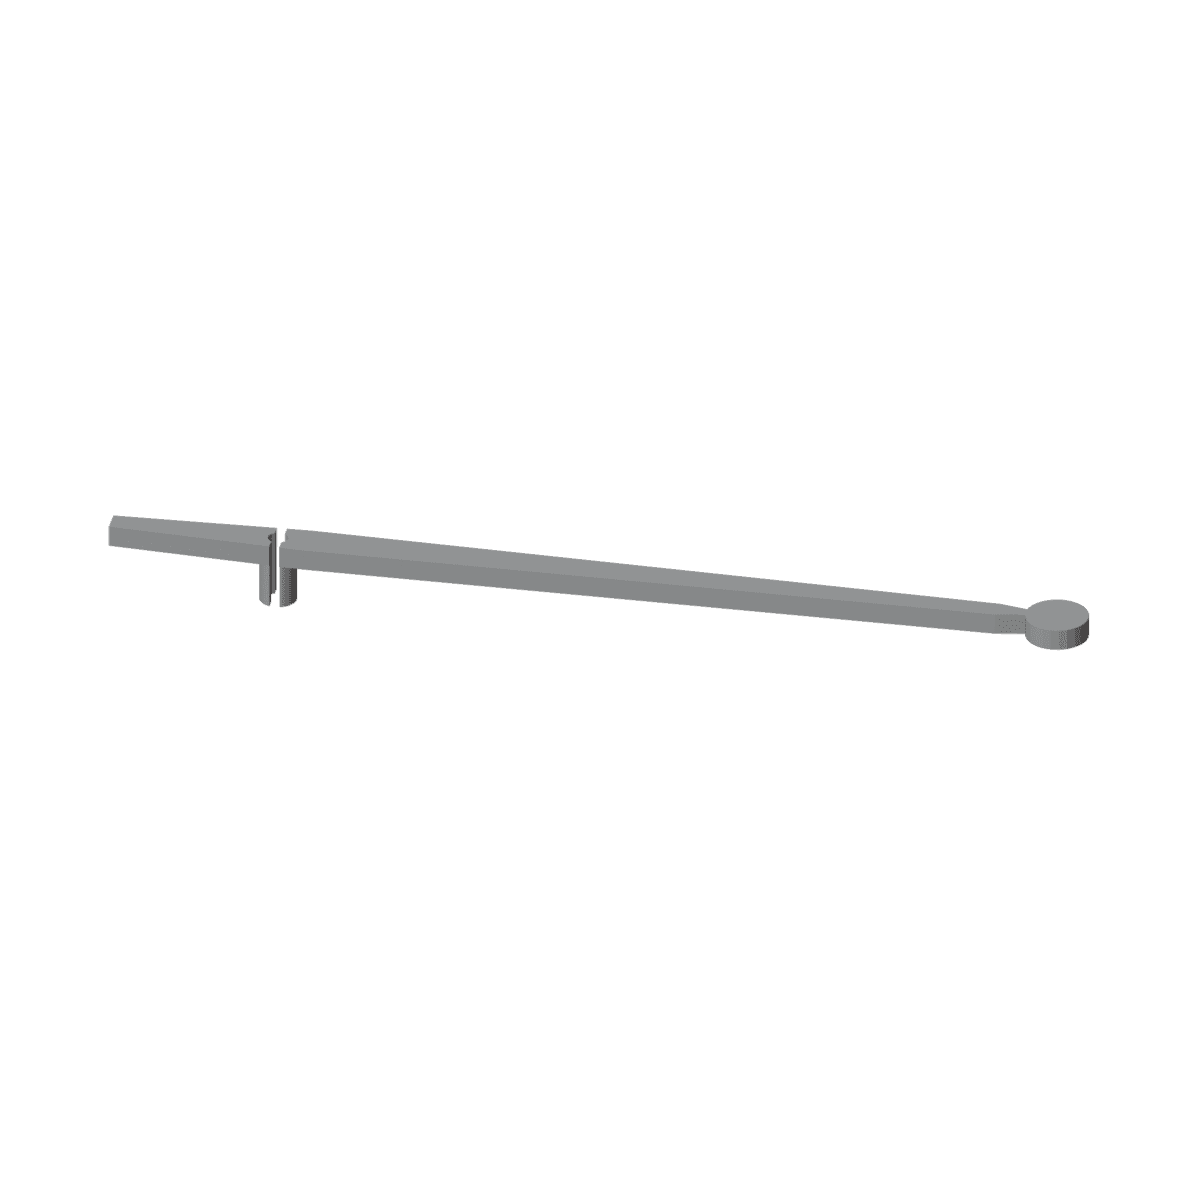
If the marks are wrong by even a few degrees, the hands look “off” every time you glance at the desk. That is why the dial is rebuilt from the same angle math as the hand pose — not decorative arcs that only look even along the outline.
Assembly is part of the design
Blender ends when the print plate ends. Fit is another project.
Pins print fat, holes print tight, and a movement that “fits on paper” still needs a nest you can press the body into by hand. The full kit landed as a multi-object 3MF so ring, face, back, and hands ship on one plate for the A1 Mini.
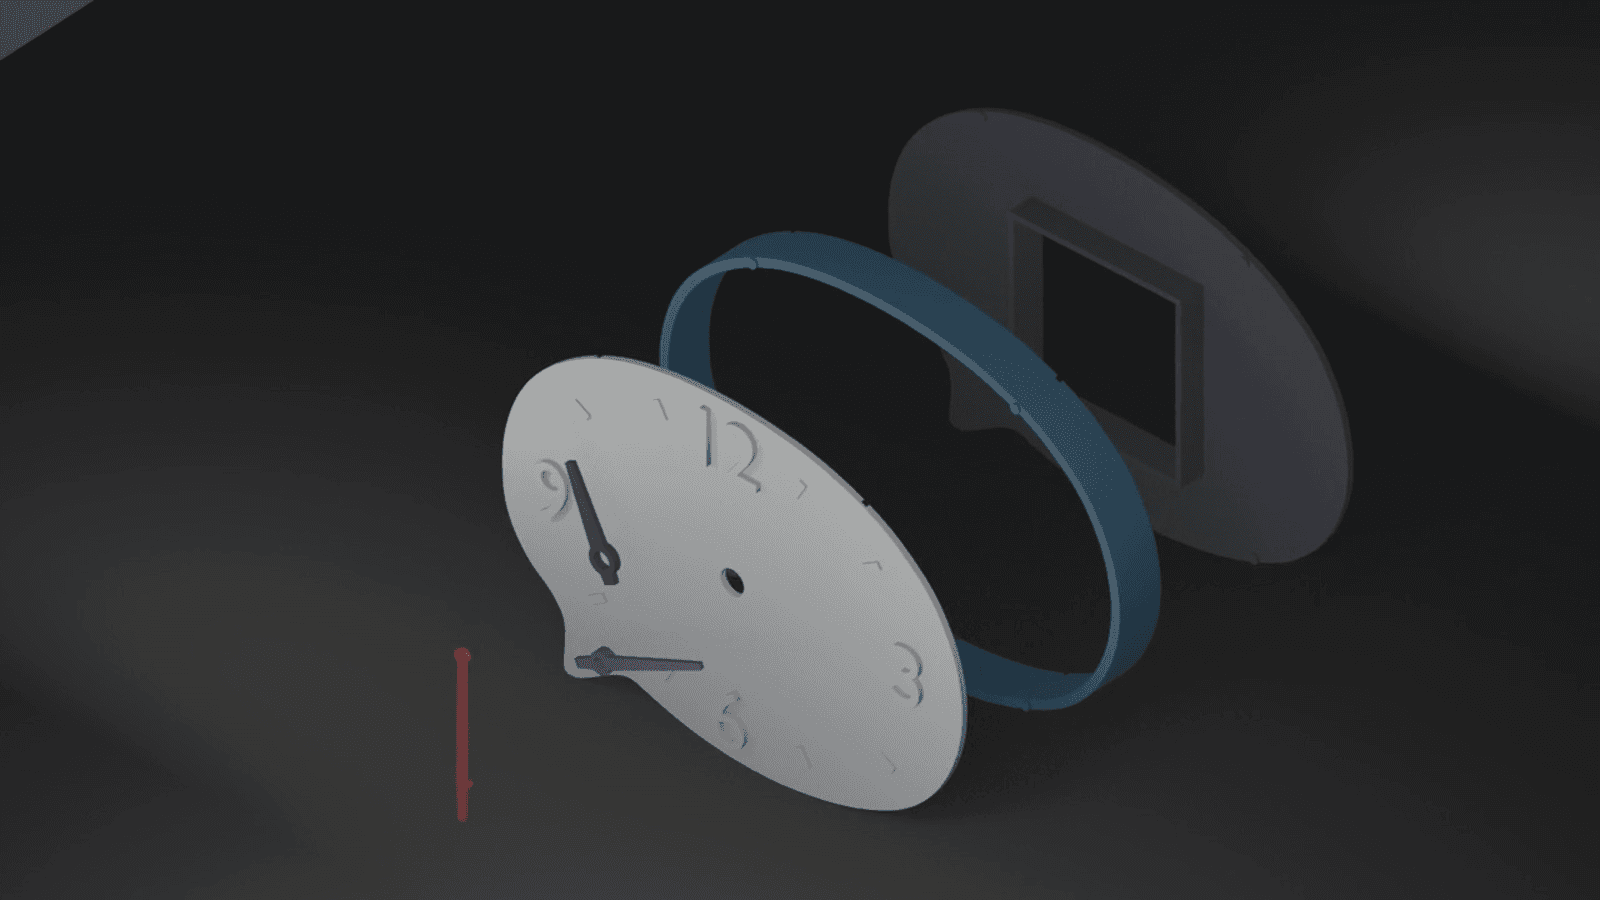
Watching it come apart and lock back together was the best way to debug the sandwich before printing another loop.
What the clock is for
I made this because I wanted a clock at home — and I wanted to learn by designing and printing one myself.
That's it. Her silhouette, our iterations, a quartz movement measured with calipers, Blender via MCP, a few print–fit–print loops, and now it sits on the desk and tells the time.
Mission complete.